Finishing & Polishing
Sandpaper & Abrasive Sheets
The grit sequence that decides whether a polish succeeds.
Specifications
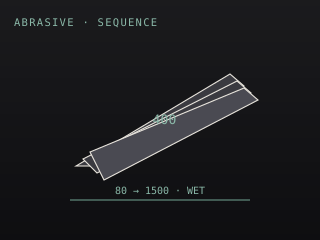
| Grit sequence | 80 → 120 → 220 → 320 → 400 → 600 → 1000 → 1500 |
|---|---|
| Backing | Wet/dry paper or cloth-backed rolls |
| Abrasive | Silicon carbide (wet/dry) or aluminium oxide |
| Sheet size | 230 × 280 mm standard |
| Use | Wet on stone — always |
| Life | Short on stone; replace when it stops cutting |
| Best for | Surface refinement before polishing |
Technical parameters
| Material | Silicon carbide or aluminium oxide on paper/cloth |
|---|---|
| Stone suitability | All stone types |
| Stage | Finish |
| Pairs with | Carborundum stone, polishing pad, water |
| Maintenance | Rinse the sheet; discard when glazed |
| Never | Skip a grit step to save time — it costs more later |
FinishingFinish
Overview
Abrasive sheets in a graded sequence, each one removing the scratches of the grit before it. On stone, the sequence is everything: the final polish can only reveal the quality of the surface underneath, and a skipped grit shows up as a scratch pattern at the very end, when fixing it means going all the way back.
Using it
- The rule is simple: never advance more than one grit step at a time.
- Sand wet, with a little water and a drop of washing-up liquid to keep the paper from loading.
- Sand in alternating directions at each grit. When the scratches from the previous grit are gone, move on.
- Do not skip 400 → 600 → 800. The jump from 400 straight to 1000 will never polish out.
Safety notes
- Wet sanding controls the dust. Do not sand stone dry, even with a mask.
- Silicone-carbide slurry is abrasive and alkaline. Gloves protect the hands.
- Wet surfaces near electrical equipment are the other hazard here. Keep cords clear.
Works with
Marble blockLimestone blockAlabaster blockSoapstone blockPolishing pad
Educational reference only. Figures marked typical are conventional workshop ranges, not manufacturer specifications. This site sells nothing and endorses no brand. Working stone produces respirable crystalline silica — control the dust at the source, and check your local regulations, which may be stricter than the general practice described here.