Roughing out is the least glamorous part of stone carving and the one that determines the outcome. It is also the stage beginners rush, because it feels like preparation rather than the work. It is not preparation. It is the work.
The rule: silhouette before mass, mass before detail
There is a strict order to carving, and violating it is the most expensive mistake available. First the silhouette — the outline as seen from each of the four faces. Then the mass — the three-dimensional bulk inside that outline. Only then the detail.
New carvers invert this constantly. They establish a beautiful ear or a convincing fold of drapery while the head is still a third too large, and then they have to remove the very thing they just made.
Marking the block
Before any tool touches the stone, draw the profile on every face. A form drawn on one face only will not be symmetrical, and you will discover that at the worst possible moment.
- Draw the front silhouette and the side silhouette at minimum.
- Use a soft pencil or a soapstone crayon — chalk rubs off, ink soaks in.
- Mark the centre lines on all faces so they stay consistent as you remove material.
- Draw generously. It is much easier to cut to a line than to recover from cutting past one.
Removing bulk
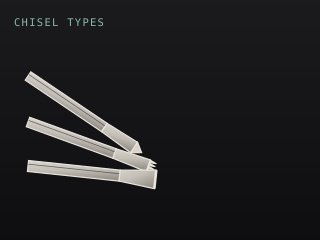
Bulk removal is fast and unsentimental. The point chisel is the tool, driven at roughly 30° to the surface, with the blow aimed away from the form you want to keep. Work around the block systematically rather than working one area to completion — that is how you keep the mass balanced and avoid discovering a problem when it is too late to redistribute material.
Establish the silhouette on all faces
Cut down to your drawn outline on the front and side profiles. Check the alignment constantly.
Remove the corners and the bulk
Take the block down toward a rough approximation of the form. Work around the whole piece, not one area.
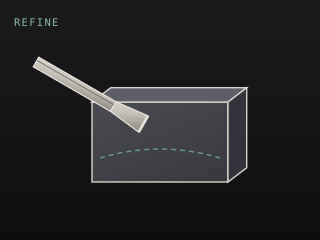
Stop 10 mm outside the form
The point chisel has no fine control. Everything inside 10 mm is hand-tool work with a flat or tooth chisel.
Level with the tooth chisel
Remove the pitting and begin establishing real planes. Overlapping diagonal passes, then cross the diagonals.
Check the silhouette again
Step back. Compare against your drawing. Fix proportions now, while there is still material to remove.
Grain direction
Marble, limestone and sandstone all have a direction. Working across the grain removes material cleanly; working along it splits the stone. Establish the direction on day one, mark it on the block, and let it govern every blow.
On marble the grain is subtle and shows as a slight directional sheen. On sandstone the bedding planes are usually visible outright. On granite there is no grain at all, which is one of the few things granite has going for it.
“My second time stone carving”
When to stop roughing
Stop when the silhouette is correct from every angle, the mass is proportionally right, and the surface is a consistent 10 mm outside your intended form. At that point switch to the tooth chisel and then the flat chisel, and do not go back.
Going back to the point chisel after you have started refining is a reliable way to take off something you wanted. If the proportions are wrong at the refining stage, the honest answer is usually to accept the piece as it is and start the next one.