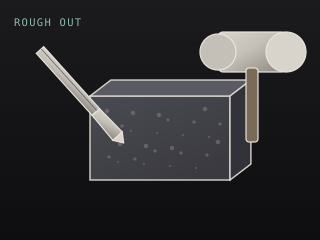
Refining is where a carved block becomes a sculpture. The mass is correct, the silhouette reads from every angle, and now the job is to resolve the surface: flatten the planes, work the transitions, and cut the detail that gives the form its identity.
Establish planes before you cut anything curved
A form reads as resolved when its planes are clean. This is counterintuitive — the eye expects curves, so beginners rush toward them. But a curve built on an unclean plane is a wobbly curve, and no amount of subsequent work will fix it. Flatten first.
Use the flat chisel in overlapping passes. The test is simple: hold a straightedge against the surface and look for light. Anywhere light shows through is a hollow, and a hollow is where the eye will go.
The tooth chisel as a leveling tool
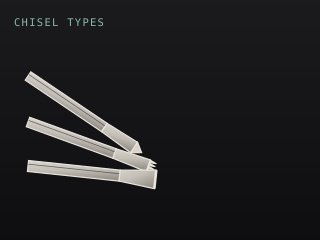
Before the flat chisel, the tooth chisel does the heavy leveling. Run it in overlapping diagonal passes in one direction, then cross the diagonals at 90°. The crossing pattern is what produces an even surface — working in one direction only develops a grain of its own that the flat chisel then struggles to remove.
Working transitions
The transitions between forms are where a carving either reads as a single object or as a collection of parts. Two planes meeting at a hard arris says "constructed". A controlled transition says "carved".
- Cut the two planes cleanly first, before you touch the transition between them.
- Use a gouge whose sweep matches the radius of the transition you want.
- Work the transition in short, overlapping passes rather than one long stroke.
- Blend with a riffler before you consider the transition finished.
Detail tools and when to reach for them
Detail is the last thing, not the first. A gouge hollows, a V-tool separates, a riffler blends, and a lettering chisel incises. Each of them removes very little material, and each of them is very difficult to undo.
| Task | Tool | Stroke |
|---|---|---|
| Hollow a fold | Gouge #5–#9 | Short, overlapping, downhill |
| Separate two forms | V-tool 60° | Score light, then deepen |
| Blend a transition | Riffler, half-round | Draw stroke, lift on return |
| Incise a line | V-tool 45° | Two angled passes |
| Cut an inscription | Lettering chisel | Two angled passes per stroke |
Knowing when to stop
Over-working is the most common way to ruin a good carving. Every additional pass removes material, and material that is gone cannot be put back. The discipline is to decide the piece is finished while there is still a little more you could do — because the alternative is discovering, at the polish, that you have taken a millimetre too much from a face.
A useful test: if you cannot say specifically what the next cut would improve, stop and move to finishing.
“Forget the Dremel — you're doing a brilliant job with the chisels.”