A chisel is a wedge. Every wedge in a stone workshop is a compromise between how much material it removes and how much control it gives back. Understanding that trade-off is most of what separates a productive session from a frustrating one.
The roughing pair: point and tooth
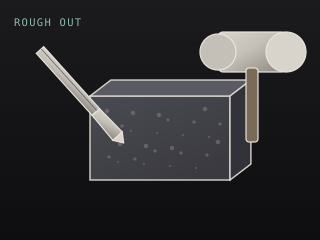
Roughing out is about mass removal, not form. Two tools dominate it. The point chisel concentrates the whole force of a blow into a small area so the stone fractures and flakes away — it is the fastest way to reduce a block to a silhouette. The tooth chisel is several points in one head, so a single blow fractures a line of stone rather than a spot.
Use the point chisel to get the mass down, then the tooth chisel to level the pitting the point chisel leaves behind. Neither tool belongs anywhere near your finished surface: stop roughing at least 10 mm outside your intended form.
The refining pair: flat and gouge
The flat chisel is the general-purpose edge. It removes stone in broad controlled sweeps and establishes the flat planes that make a piece read as deliberate rather than approximate. Edge width changes its character completely: a wide blade flattens, a narrow one reaches into a concavity.
The gouge is the flat chisel's opposite number, ground with a U-shaped cross-section so it cuts a concave channel. It is how you hollow a drapery fold, undercut a lip, or follow the inside of a curve without breaking the surface. Sweep number controls how tight that curve is.
The detail tools: V-tool and lettering chisel
Where a gouge makes a soft hollow, a V-tool makes a decision. It cuts a clean angular groove, and it is the tool for separating forms — a line between a fold and a limb, an incised edge, the boundary of a carved motif. Its apex is the most fragile edge in the workshop, so it takes light blows only.
The lettering chisel is essentially a very narrow flat chisel with a tapered shank, used to cut the strokes of carved letters. Lettering is the most demanding application in stone: a 4 mm stroke has nowhere to hide a mistake.
The working sequence
These tools form a sequence, and the sequence matters more than the individual choices.
Point chisel — establish the mass
Reduce the block to a rough silhouette. Fast, aggressive, no precision.
Tooth chisel — level the surface
Remove the point chisel pitting and begin establishing planes. Work in overlapping diagonal passes, then cross the diagonals.
Flat chisel — true the planes
Establish clean, flat surfaces and correct transitions. This is where the piece starts to look intentional.
Gouge and V-tool — cut the detail
Hollows, folds and separating lines. Match the sweep or the angle to the radius you are cutting.
Lettering chisel — incise any inscription
Draw at full size first, then cut only to the line. Two angled passes make a V-section stroke.
Matching chisel to stone
| Stone | Rough out | Refine | Detail |
|---|---|---|---|
| Soapstone | Saw and rasp | Rasp and file | Riffler |
| Alabaster | Rasp | Riffler | Riffler |
| Limestone | Point chisel | Tooth and flat | Gouge and V-tool |
| Marble | Point chisel | Tooth and flat | Gouge and V-tool |
| Granite | Carbide point | Carbide tooth | Diamond abrasive |
“Fire sharp chisels are fine up to marbles and travertine. Harder than that and you want tungsten carbide tipped chisels.”
Sharpening, briefly
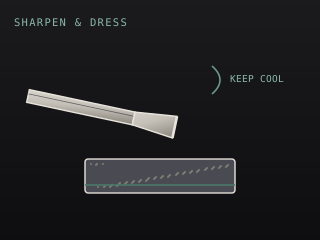
A dull chisel does not cut stone — it bruises it, and a bruised surface will show through every subsequent grit. Re-sharpen the moment the edge reflects light along its length, which on marble is roughly every 20 to 40 minutes of work. This is not an optional refinement; it is the difference between carving and grinding.