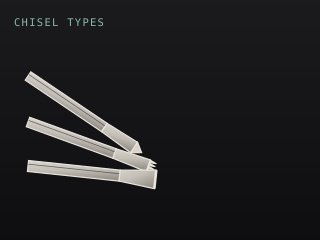
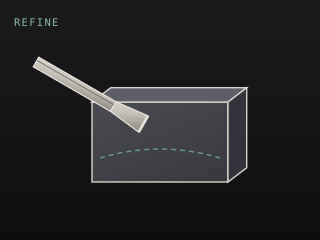
A dull chisel is not a slow chisel. It is a tool that bruises stone instead of cutting it, and the bruising shows through every grit that follows. The twenty seconds it takes to re-sharpen is the cheapest time you will spend all day.
Recognising a dull edge
The test is visual and it takes a second. Hold the chisel edge toward a light source. A sharp edge shows no reflected line along its length; a dull edge shows a bright line, because a rounded edge reflects light where a sharp one does not.
On marble, expect to re-sharpen every 20 to 40 minutes of actual cutting. On limestone you can go longer. On granite with carbon steel, the edge is gone within minutes, which is the argument for carbide in one sentence.
Grinding angles
The bevel angle is a compromise between edge strength and cutting ease, and it changes with the stone.
| Chisel | Bevel angle | Note |
|---|---|---|
| Flat chisel | 25–35° per side | Shallower for soft stone, steeper for hard |
| Point chisel | 60–70° included | Steeper than a flat; a sharp point simply snaps |
| Tooth chisel | 45° head | Sharpen the whole set evenly |
| Gouge | Follows the sweep | Never flatten the bevel |
| V-tool | Inside faces flat | The apex must stay sharp |
| Lettering chisel | 20–25° per side | Polish to a mirror |
Sharpening a flat chisel
Establish the angle
Use a honing guide if you are starting out. A consistent angle matters more than a precise one.
Grind the primary bevel
On a coarse stone or a slow grinder, work the bevel back until the edge is uniform. Keep the tool cool — overheating destroys the temper.
Hone the edge
Work through progressively finer stones until the bevel is polished.
Remove the burr
Turn the chisel over and lay it flat on the stone. Two or three light passes remove the wire edge.
Test
Hold the edge to the light. No reflected line means it is sharp.
The critical warning here is heat. A dry grinder will draw the temper out of a chisel edge in seconds, and a chisel that has lost its temper will not hold an edge no matter how carefully you sharpen it. Use a slow-speed wet grinder, or dunk the tool in water constantly.
Dressing mushroomed heads
Repeated hammer blows deform the top of a chisel head into a mushroom. That mushroom is dangerous — the burr will cut your palm, and a badly cracked head can shatter under a blow and throw fragments.
- Inspect every chisel head at the start of each session.
- Grind the mushroom off as soon as it forms, back to a clean chamfer.
- Check for cracks radiating from the head. A cracked head is scrap, not a tool to re-dress.
- Never strike a chisel with a steel hammer unless it is designed for that.
“Fire sharp chisels are fine up to marbles and travertine. Harder than that and you want tungsten carbide tipped chisels.”
Storage
Chisels stored loose in a box will knock against each other and dull each other. The edge is the whole point of the tool, and it takes surprisingly little contact to round it.
- Store chisels edge-up or edge-protected, never edge-down.
- Use a rack or a roll so the edges cannot contact anything hard.
- Keep them dry. Rust on a bevel is a re-grind, and rust in the shank is a weakened tool.
- A light oil on the shanks after each session is enough.
- Separate carbide-tipped tools from steel ones — carbide chips steel.