Finishing is subtraction at a smaller scale. Every grit removes the scratches of the grit before it, which means the sequence matters far more than the effort. Skip a step and the flaw surfaces at the polish, when fixing it means going all the way back.
The grit sequence
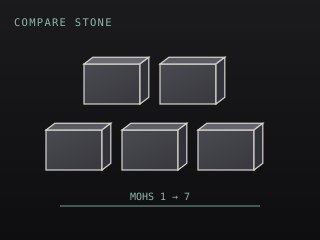
The rule is simple: never advance more than one step at a time. Each grit erases the scratch pattern of the previous one, and jumping two grits leaves scratches that no subsequent grit will reach.
| Grit | Purpose | Removes |
|---|---|---|
| 80 | Level and shape | Chisel marks, major unevenness |
| 120 | Refine shape | 80-grit scratches |
| 220 | Begin surface | 120-grit scratches |
| 320 | Pre-finish | 220-grit scratches |
| 400 | Fine surface | 320-grit scratches |
| 600 | Very fine | 400-grit scratches |
| 1000 | Pre-polish | 600-grit scratches |
| 1500 | Polish prep | 1000-grit scratches |
Honed versus polished
A honed finish stops at around 400 grit. The surface is smooth and matte, the stone reads as itself, and the finish hides small imperfections in the form. It is the right choice for most outdoor work and for any piece where you want the stone rather than the reflection.
A polished finish goes through the full sequence and then to a felt pad with tin oxide or cerium oxide. The surface becomes genuinely reflective and the stone deepens in colour. It also shows every flaw in the form, which is why a polish is unforgiving of a rushed refine.
The two are not better and worse. They are different intentions, and a honed finish on a well-carved form is a far better result than a polish on a wobbly one.
Sealing
Sealing is the step that gets skipped, and on porous stone it is the difference between a piece that ages and a piece that stains. Limestone, sandstone and alabaster all absorb water, oils and dirt; a penetrating sealant slows that absorption considerably.
- The stone must be completely dry. Moisture trapped under a sealant clouds the surface.
- Apply thin coats with a brush or cloth. A heavy coat sits on the surface like plastic film.
- Buff off the excess before it sets — excess wax is far harder to remove later than to avoid now.
- Test on an offcut first. Sealants darken stone to varying degrees, and some darken a lot.
“Soapstone is soft, inexpensive and common — the preferred stone for beginners.”
Outdoor work
Exterior siting changes the calculation. Freeze-thaw cycling is the destructive force: water enters the pores, freezes, expands, and eventually spalls the surface. Dense stones resist this far better than porous ones, and a sealed limestone will last much longer outside than an unsealed one.
For exterior pieces, a honed finish with a penetrating sealant is generally the most durable combination. A high polish outdoors is a maintenance commitment, not a one-off decision.