Forget the Dremel — you're doing a brilliant job with the chisels.
— r/stonecarvingFlat chisel
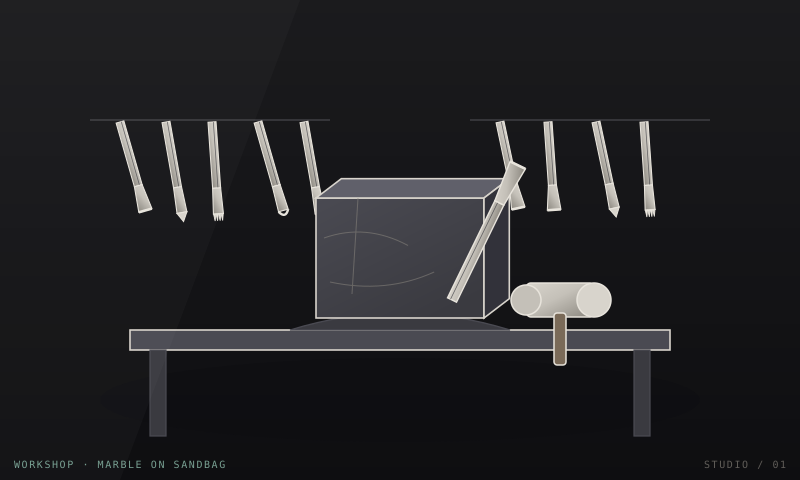
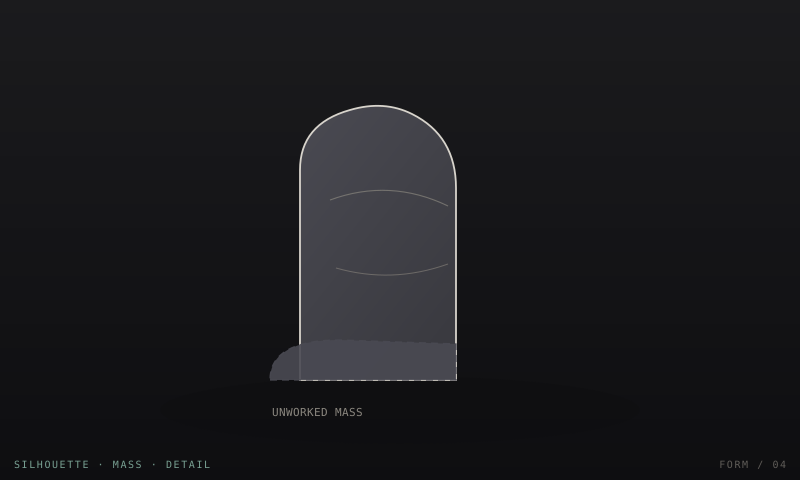
A working reference for chisels, mallets, stone and dust control — plus four interactive 3D simulators you can actually use.
Not affiliated with any manufacturer, retailer or quarry.
No products, no affiliate links, no sponsored placements.
Four simulators that run in the browser, with no sign-up.
Silica and tool safety on every relevant page, not buried.
Community
Short quotes from workshop forums and magazines, attributed and linked. Each card opens the page that covers it in full.
Forget the Dremel — you're doing a brilliant job with the chisels.
Start with softer materials, and remember granite needs specialty tools.
Fire sharp chisels are fine up to marbles and travertine. Harder than that and you want tungsten carbide tipped chisels.
Soapstone is soft, inexpensive and common — the preferred stone for beginners.
Categories
Every tool on this site belongs to one of these, and most work spans several.
The six working stones most sculptors actually buy. Hardness, grain, porosity and what each one will and will not tolerate.
Flat, point, tooth, gouge, V-tool and lettering chisels — what each one removes, and the stone hardness it survives.
Stone hammers, masons hammers, mallets, bush hammers, dummies and pneumatic tools — matched to the blow the stone can take.
Rifflers, carborundum, abrasive papers, polishing pads and wax — the grit sequence that turns a chiselled surface into a finished one.
Respirators, eye protection, benches, vises and dust extraction — the equipment that keeps a studio usable for decades.
Process
They run in this order, and the order matters more than any individual choice.
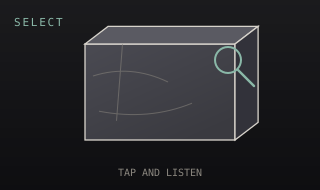
Sound the block, read the grain, and choose a stone the tools can actually work.
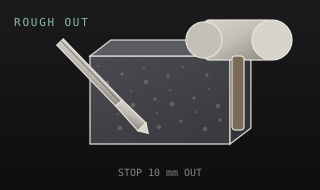
Remove the bulk with a point chisel. Silhouette first, and stop 10 mm outside the form.
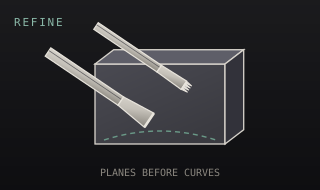
Level with a tooth chisel, true the planes with a flat, then cut the detail.
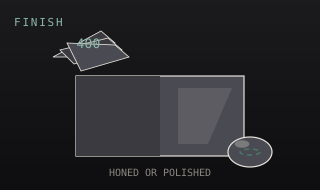
Work the grit sequence without skipping, then seal a completely dry surface.
3D Studio
Educational simulations of carving, layout, chisel angle and surface finishing. They run in the browser with no sign-up, and every one degrades to a 2D reference version if your device cannot render 3D.
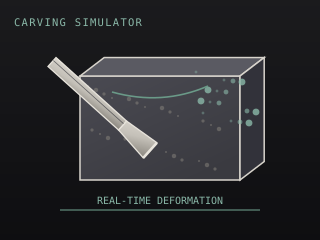
Rotate a marble block, drive four chisel types into it, and watch the surface deform in real time. Depth, angle and force are all adjustable, and over-forcing raises a cracking warning.
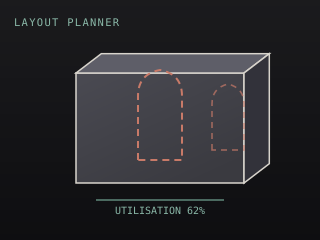
Set the subject, the block dimensions and the scale, then drag the profile into position. The planner reports the stone you will waste and whether the profile overruns the block.
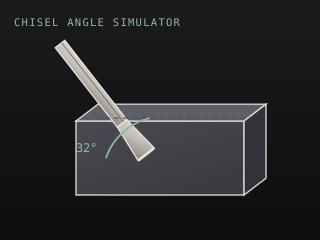
Adjust the chisel angle, force and stone type, then run the cut. The simulator reports an efficiency score, a removal rate and the risks of skating or spalling.
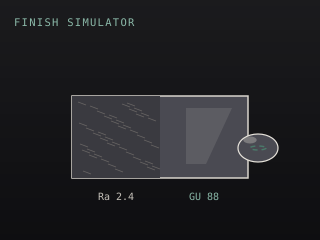
Step through the grit sequence, choose a finish and apply a sealant. The surface gloss and roughness update as you work, with a before-and-after comparison.
Simulation results are indicative only. Real work follows the tool and the stone, and always follows your local safety requirements.
Community answers
Drawn from workshop forums, kept short and attributed. Each card links to the guide that covers it properly.
“How do I get into stone carving? I love the whole process but don't know where to start.”
Start with softer materials like soapstone or limestone. A good starter set is a hammer, a point, a tooth and a flat chisel. If you live near a quarry you can often get stone free or under $10. Always wear PPE and work in a ventilated area.
“What's the right tool for mini to medium rock carving? I have a small air compressor but was told flex shafts are the way to go.”
For small pieces a flexshaft with carbide bits works well. Diamond or carbide sintered bits are the ones worth buying — electroplated diamond bits are a false economy. A steel round 1.5–2 lb dummy mallet and a dense nylon round mallet are both recommended for control.
“How do I protect myself from stone dust while carving?”
Use a mask and safety glasses. Consider wet carving — some people work in a sink or a tray of water. With water there is essentially no dust, and it also extends tool life because diamond bits stay cool. If you work dry, extract the dust and clean with wet towels, never a dry brush.
Troubleshooting
The failures that come up again and again in workshop forums, with the cause and the fix.
| Problem | Likely cause | Quick check | Solution | Source |
|---|---|---|---|---|
| Stone fractures while chiselling | Excessive force, or a hidden fissure in the block | Tap the block and listen for a dull thud instead of a ring | Reduce force and work away from the fissure; wet the block to reveal the fault line first | r/stonecarving |
| Chisel dulls unusually fast | Stone harder than the chisel steel can hold | Check the Mohs hardness of the stone against the tool material | Use fire-sharp steel up to marble and travertine; switch to tungsten carbide above that | r/stonecarving |
| Dust fills the workshop | Dry cutting or dry chiselling without extraction | Look at whether the method is wet or dry, and whether extraction is running | Switch to wet methods, or add HEPA extraction at the tool plus a P100 respirator | r/stonecarving |
| Surface will not come flat | Insufficient or uneven abrasion | Check the grit sequence — a skipped step leaves a wave you cannot polish out | Work the full sequence from coarse to fine, in alternating directions at each grit | r/stonecarving |
| Drill bit burns out | Speed too high, or no cooling | Check the spindle speed and whether coolant is reaching the tip | Reduce speed, add continuous water cooling, and use sintered diamond bits | r/stonecarving |
| Finished piece cracks later | Internal stress in the stone, or moisture cycling | Tap for hollows before you start, and check where the piece is stored | Select dense stone free of visible fissures, and keep it out of damp or freezing conditions | r/stonecarving |
Calculators
Three free tools that answer the questions that cost money or health when you get them wrong.
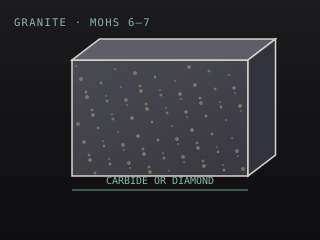
Work out what a block actually weighs before you try to lift it.
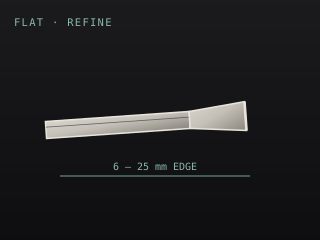
Match the tool to the stone and the stage you are working.
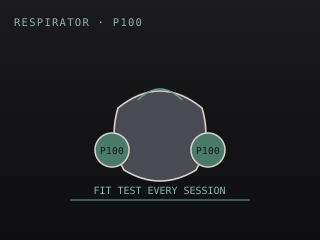
Estimate the silica risk of a task and the protection it needs.
From the community
Guides
Long-form guides written for someone standing in front of a block for the first time.
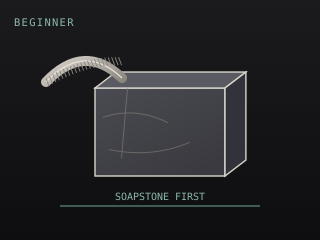
A realistic first-project guide: what to buy, what stone to choose, what your first piece should be, and the mistakes that cost beginners the most time.
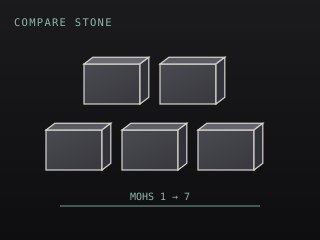
How the four working stones differ in hardness, grain and behaviour under the chisel — and which one belongs in your studio.
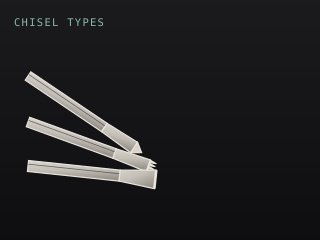
Point, tooth, flat, gouge, V-tool and lettering chisels — what each one removes, when to switch, and how the sequence runs.
The fastest way to learn this craft is to make one small piece in soapstone and pay attention to what the tool is telling you.